
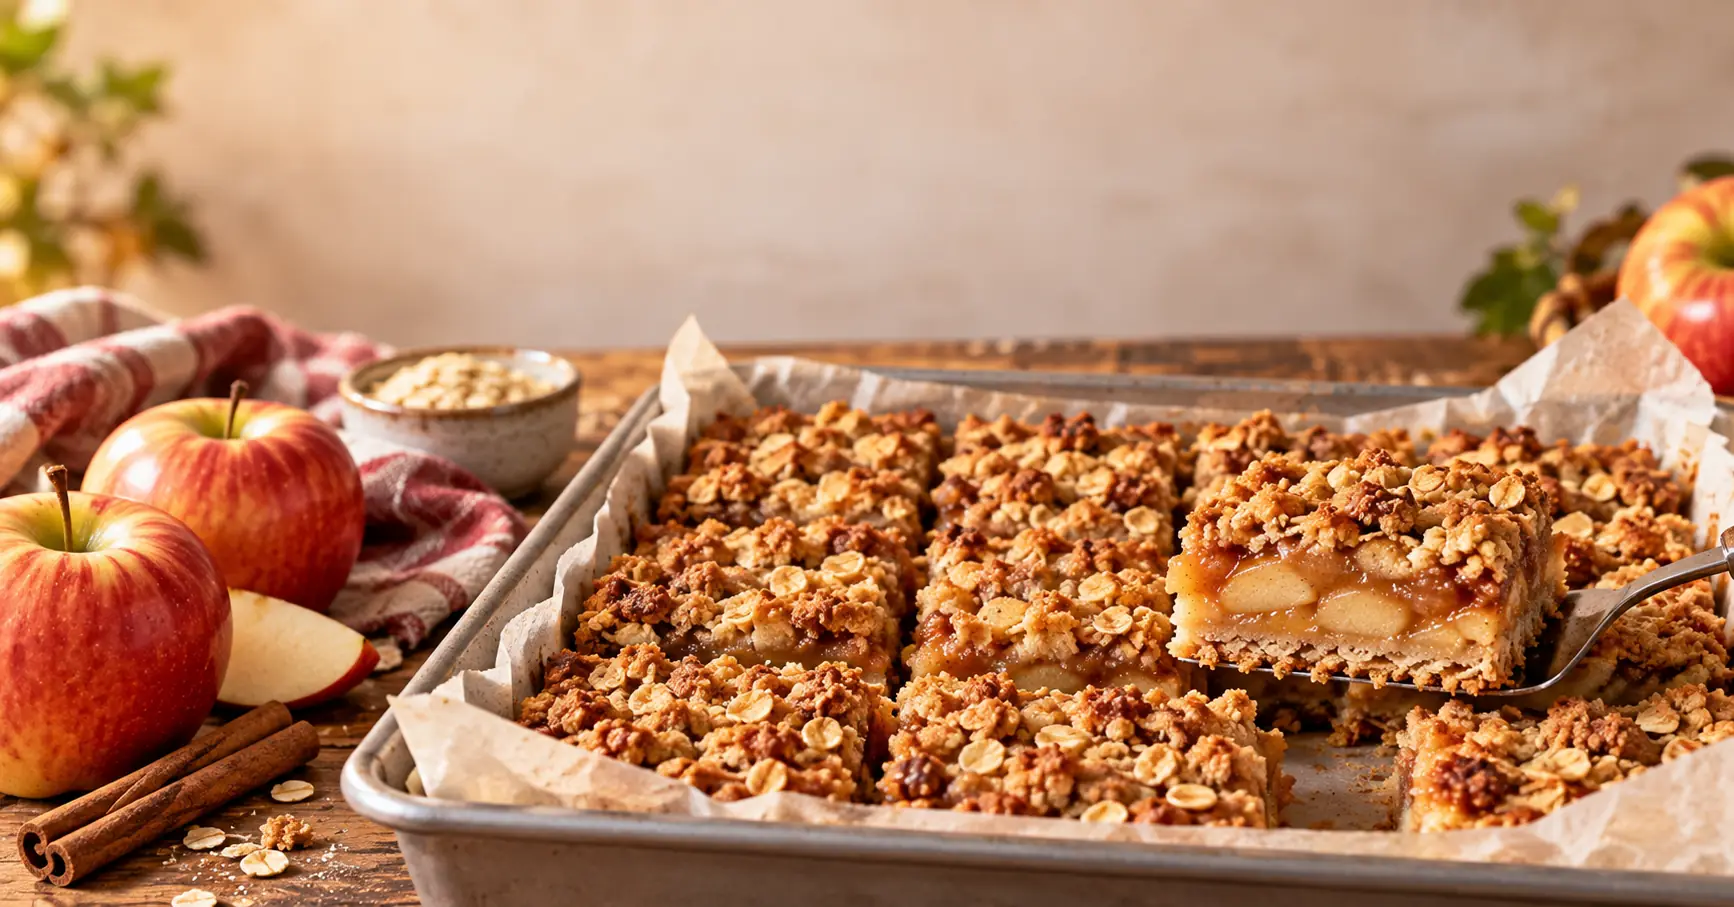
Cinnamon Apple Crisp Bars
This post may contain affiliate links. If you purchase through them, we may earn a small commission at no extra cost to you. Thank you for supporting our site.
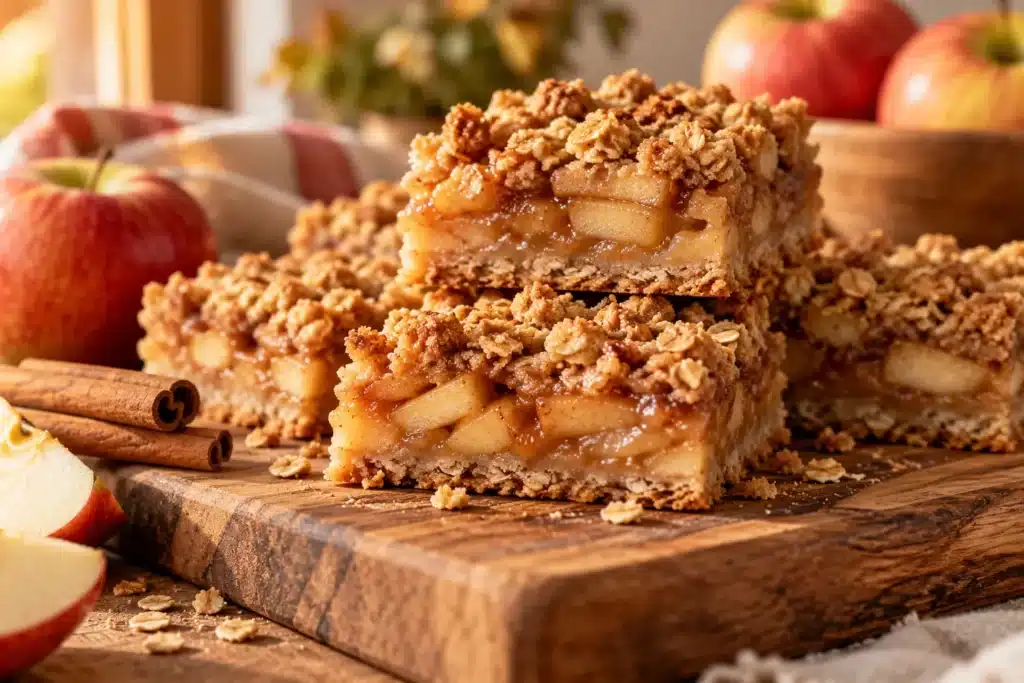
There’s a particular kind of smell that means fall has arrived in my kitchen, and it’s not pumpkin spice candles. It’s cinnamon and butter bubbling together with apples in the oven, sneaking out from under the door before the timer even goes off. That’s exactly what you’re getting into with these cinnamon apple crisp bars — a buttery oat crust on the bottom, a thick layer of soft, spiced apples in the middle, and a crumbly, golden streusel on top that shatters just a little when you bite into it.
I started making these years ago as a way to get all the comfort of a classic apple crisp without needing bowls for everyone. You cut these into neat squares, they hold their shape, and you can eat them with a fork standing at the counter or wrap one in a napkin for the car. If you love apple crisp bars, apple crumble bars, or anything in the general category of “warm apples plus crunchy topping,” you’re going to want to bookmark this one.
This recipe is built for real kitchens. No fancy equipment, no hard-to-find ingredients, and no fussy technique. Just a solid, reliable dessert that turns out right every single time, whether you’re making this cinnamon apple crisp bars recipe for a Tuesday night treat or bringing it to a Thanksgiving dessert table. If you’re already a fan of cozy apple-and-oat combinations, you’ll also want to bookmark these Apple Cinnamon Oatmeal Bars for busy mornings when you want that same flavor in a grab-and-go form.
Quick Recipe Facts
| Detail | Info |
|---|---|
| Prep Time | 20 minutes |
| Cook Time | 45 minutes |
| Chill Time | 15 minutes |
| Total Time | 1 hour 20 minutes |
| Servings | 16 bars |
| Cuisine | American |
| Course | Dessert |
| Difficulty | Easy |
| Calories | 265 per bar |
| Protein | 3g |
| Carbs | 38g |
| Fat | 12g |
Table of Contents
- Why You’ll Love This Recipe
- Ingredient Guide
- Equipment Guide
- Step-by-Step Instructions
- Expert Tips
- Common Mistakes
- Recipe Variations
- Serving Ideas
- Storage
- Troubleshooting
- Frequently Asked Questions
- Recommended Tools
- Recipe Card
Jump to Recipe ↓ (scroll to the Recipe Card section for ingredients and instructions only)
Why You’ll Love This Recipe
These cinnamon apple crisp bars sit right in that sweet spot between apple pie and apple crisp, but with the practicality of a bar cookie. Here’s why this cinnamon apple crisp bars recipe is worth making on repeat:
- They’re portable. No plates, no bowls, no forks required if you don’t want them. Cut into squares and go.
- The texture is unbeatable. A shortbread-like oat crust on the bottom, tender spiced apples in the middle, and a crumbly streusel on top. Three textures, one bite.
- They’re forgiving. Slightly underripe apples, slightly overripe apples, a little extra cinnamon — this recipe rolls with it.
- Great for meal prep and gifting. These bars freeze beautifully, so you can make a batch now and pull out a couple whenever the craving hits.
- Kid-approved and crowd-approved. They’re sweet but not cloying, spiced but not overwhelming, and easy for kids to eat without a fork.
If you’re the kind of baker who loves easy dessert recipes that still feel a little special, these cinnamon apple crisp bars belong in your fall recipe rotation right alongside your favorite comfort food classics.
Ingredient Guide
Every ingredient in this cinnamon apple crisp bars recipe earns its place, so here’s exactly what each one does.
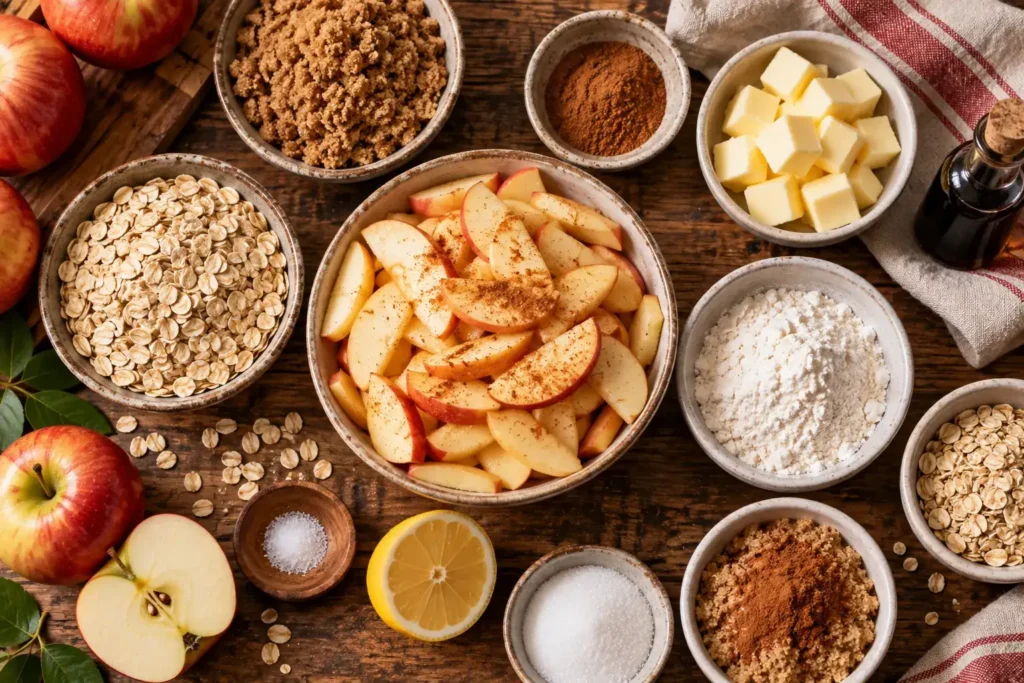
For the Crust and Streusel
All-purpose flour — Gives the crust and streusel structure. Purpose: binds the butter and sugar into a dough that can be pressed and crumbled. Substitution: a 1:1 gluten-free flour blend works well here. Shopping tip: any standard all-purpose flour is fine; no need for bread flour or cake flour. Storage: keep in an airtight container in a cool, dry pantry for up to a year.
Old-fashioned rolled oats — Adds chew and a slightly nutty flavor to both the crust and topping. Purpose: creates texture and helps the streusel clump into satisfying crumbles. Substitution: quick oats work in a pinch, though the texture will be slightly softer. Avoid instant oats, which turn mushy. Shopping tip: old-fashioned oats are usually cheaper in the bulk bins. Storage: airtight container, pantry, up to 6 months.
Light brown sugar — Sweetens the crust and streusel while adding a light caramel note from the molasses content. Purpose: also helps the streusel brown and crisp in the oven. Substitution: dark brown sugar works too, for a deeper flavor. Shopping tip: press it firmly into the measuring cup for accuracy. Storage: keep sealed to prevent hardening; a slice of bread in the container helps keep it soft.
Unsalted butter, cold and cubed — The backbone of the crust and streusel. Purpose: creates flaky, tender crumbles when cut into the dry ingredients. Substitution: plant-based butter sticks work for a dairy-free version. Shopping tip: cold butter is non-negotiable here — it’s what gives you those crumbly streusel pieces instead of a paste. Storage: refrigerate; keep extra in the freezer for up to 6 months.
Baking powder — A small amount lifts the crust just slightly so it isn’t dense. Substitution: none recommended; it’s a small quantity doing important work.
Salt — Balances the sweetness and makes the cinnamon and apple flavors pop. Use fine sea salt for even distribution.
For the Apple Filling
Apples (a mix of Granny Smith and Honeycrisp) — The star of the show. Purpose: Granny Smith brings tartness and holds its shape; Honeycrisp adds natural sweetness and juiciness. Substitution: Braeburn, Jonagold, or Pink Lady are great alternatives. Avoid Red Delicious, which turns mealy when baked. Shopping tip: choose apples that feel firm and heavy for their size. Storage: whole apples keep in the fridge crisper drawer for several weeks.
Granulated sugar — Sweetens the apple filling and helps draw out their juices slightly as they bake. Substitution: coconut sugar works for a less refined option.
Ground cinnamon — The defining flavor of this recipe. Purpose: warms the apples and ties the whole bar together. Shopping tip: buy whole cinnamon sticks and grind fresh if you bake often; the flavor is noticeably stronger.
Ground nutmeg and ground ginger — Small amounts add depth and warmth without competing with the cinnamon. Substitution: apple pie spice blend can replace both in a pinch.
Lemon juice — Brightens the apple filling and helps prevent excessive browning. Purpose: balances the sweetness with a touch of acidity.
Cornstarch — Thickens the apple juices so your filling isn’t watery. Purpose: without it, the bars can turn soggy at the bottom. Substitution: all-purpose flour works, though you’ll need slightly more.
Vanilla extract — Rounds out the filling’s flavor. Use pure vanilla extract if possible for the best flavor.
Equipment Guide
You don’t need a fully stocked bakery to pull off these cinnamon apple crisp bars, but a few tools make the process much smoother.
9×13-inch baking pan — Why it matters: gives you the right ratio of crust to filling to topping, and produces evenly sized bars. Professional alternative: a light-colored metal pan for even browning. Budget alternative: a disposable foil pan works fine for potlucks.
Parchment paper — Why it matters: makes lifting the entire slab out of the pan possible, which means clean-cut bars instead of a scooped mess. Budget alternative: well-greased foil with overhanging edges.
Pastry cutter or fork — Why it matters: cuts cold butter into the flour mixture without warming it with your hands. Professional alternative: a food processor pulsed in short bursts. Budget alternative: two forks or your fingertips, worked quickly.
Mixing bowls (large and medium) — One for the crust and streusel mixture, one for the apple filling. Any sturdy bowls work.
Sharp paring knife or apple slicer — Why it matters: thin, even apple slices cook more evenly and layer more neatly. Budget alternative: a standard chef’s knife.
Cooling rack — Why it matters: lets air circulate under the pan so the bottom crust doesn’t turn soggy from trapped steam.
Step-by-Step Instructions
Follow these steps closely and your cinnamon apple crisp bars will turn out perfectly layered every time.
Step 1: Make the Crust and Streusel Base
What to do: In a large bowl, whisk together the flour, oats, brown sugar, baking powder, and salt. Add the cold cubed butter and use a pastry cutter (or your fingers) to work it into the dry ingredients until the mixture looks like coarse, pea-sized crumbles.
Why: This one mixture becomes both your crust and your topping, so getting the texture right here sets up the whole bar.
What to look for: The mixture should hold together when pressed between your fingers but still look crumbly, not smooth like dough.
Common mistake: Using softened butter. It blends in too smoothly and gives you a dense, cakey crust instead of a crumbly one.
Expert tip: If your kitchen is warm, pop the butter cubes in the freezer for 5 minutes before starting.
Visual cue: The mixture should look like wet sand with visible pea-sized butter chunks.
Timing: About 5 minutes.
Step 2: Press the Crust Into the Pan
What to do: Line your 9×13 pan with parchment paper, leaving overhang on the sides. Take about two-thirds of the crumb mixture and press it firmly and evenly into the bottom of the pan. Reserve the rest for the topping.
Why: A firmly packed crust holds together when you slice the bars later.
What to look for: An even, compact layer with no gaps or thin spots, especially in the corners.
Common mistake: Pressing too loosely, which results in a crust that crumbles apart when sliced.
Expert tip: Use the bottom of a measuring cup to press and smooth the crust evenly.
Visual cue: The surface should look flat and slightly shiny from the butter.
Timing: About 3 minutes.
Step 3: Chill the Crust
What to do: Place the pan in the refrigerator for 15 minutes while you prepare the apple filling.
Why: Chilling firms up the butter again, which helps the crust hold its shape during the first stretch of baking.
Timing: 15 minutes (can overlap with filling prep).
Step 4: Prepare the Apple Filling
What to do: Peel, core, and thinly slice the apples. In a medium bowl, toss the apple slices with granulated sugar, cinnamon, nutmeg, ginger, lemon juice, cornstarch, and vanilla extract until every slice is coated.
Why: Coating the apples evenly ensures every bite has balanced sweetness and spice, and the cornstarch keeps the filling from turning watery.
What to look for: A light, even coating on the apples with no dry pockets of cornstarch or sugar at the bottom of the bowl.
Common mistake: Slicing apples too thick. Thick slices stay crunchy and undercooked in the center of the bars.
Expert tip: Aim for slices about ⅛-inch thick — thin enough to cook through, thick enough to hold their shape.
Visual cue: Apple slices should look glossy and lightly coated, not swimming in liquid.
Timing: About 10 minutes.
Step 5: Layer and Bake
What to do: Preheat your oven to 350°F (175°C). Spread the apple filling evenly over the chilled crust. Sprinkle the reserved crumb mixture evenly over the top, breaking up any large clumps as you go. Bake for 40–45 minutes.
Why: Even layering ensures consistent baking and a clean cross-section when sliced.
What to look for: The streusel topping should turn deep golden brown, and you should see the apple filling bubbling gently at the edges.
Common mistake: Pulling the bars out too early. If the center hasn’t bubbled at all, the apples likely aren’t fully softened.
Expert tip: Rotate the pan halfway through baking for even browning, especially if your oven has hot spots.
Visual cue: Golden-brown streusel, visible bubbling around the edges, and a fragrant cinnamon aroma filling the kitchen.
Timing: 40–45 minutes.
Step 6: Cool Completely Before Slicing
What to do: Let the bars cool in the pan on a wire rack for at least 1 hour, or until fully cooled to room temperature, before lifting out and slicing.
Why: Cutting warm bars causes the filling to ooze out and the crust to fall apart. Full cooling lets everything set into clean, sliceable layers.
Common mistake: Impatience. This is the step most people skip, and it’s the one that determines whether your bars hold together.
Expert tip: For the cleanest slices, refrigerate the fully cooled pan for 30 minutes before cutting, then use a sharp knife wiped clean between cuts.
Timing: 1 hour minimum cooling, plus optional 30-minute chill.
Expert Tips
A few small details separate good cinnamon apple crisp bars from great ones.
- Salt your streusel a little more than feels right. A slightly salty topping against the sweet apple filling is what makes bakery-style bars taste “finished.”
- Don’t skip the lemon juice. It’s subtle, but it keeps the apple flavor bright instead of one-note sweet.
- Use a bench scraper or sharp knife for slicing, and clean the blade between cuts for photo-worthy squares.
- Bake on the middle rack, not the top or bottom, for the most even heat distribution.
- For a bakery-style finish, dust the cooled bars very lightly with powdered sugar right before serving.
Common Mistakes
Here are the most common ways cinnamon apple crisp bars go wrong, and how to avoid each one.
| Problem | Cause | Solution |
|---|---|---|
| Soggy bottom crust | Filling wasn’t thickened enough, or bars were cut warm | Use the full amount of cornstarch and cool completely before slicing |
| Crust falls apart when sliced | Butter was too soft when mixed in, or crust wasn’t pressed firmly | Use cold butter and pack the crust down firmly with a flat surface |
| Streusel didn’t brown | Oven temperature too low, or streusel spread too thin | Preheat fully and check oven temperature with a thermometer |
| Apples still crunchy after baking | Slices cut too thick | Slice apples to about ⅛-inch thickness |
| Filling too runny | Cornstarch omitted or apples too watery | Always include cornstarch, and pat very juicy apple varieties dry before mixing |
Recipe Variations
This cinnamon apple crisp bars recipe is easy to adapt for different diets and occasions.
Healthy Version: Reduce sugar in the filling by a third and use a light hand with the streusel; the natural apple sweetness carries more than you’d expect.
High Protein: Stir 2 tablespoons of vanilla protein powder into the streusel mixture and serve with a dollop of Greek yogurt.
Low Sugar: Swap granulated sugar in the filling for a monk fruit or allulose blend at a 1:1 ratio.
Keto: Replace the flour and oats with almond flour and crushed pecans, and use a keto-friendly brown sugar substitute.
Gluten Free: Use a 1:1 gluten-free flour blend and certified gluten-free oats.
Dairy Free: Substitute a plant-based butter stick for the dairy butter.
Seasonal (Fall/Holiday): Add a pinch of ground cloves and a tablespoon of maple syrup to the apple filling for a deeper, more autumnal flavor.
Kid Friendly: Reduce the spice slightly and add a handful of mini chocolate chips to the streusel.
Party Version: Cut into smaller, bite-sized squares and serve on a platter with toothpicks. For an easy pairing on the same dessert table, set out a bowl of Apple Cinnamon Cheesecake Dip alongside these bars — the creamy dip and the crumbly bars complement each other perfectly at fall gatherings.
Budget Version: Use a single apple variety (whatever’s on sale) instead of a mix.
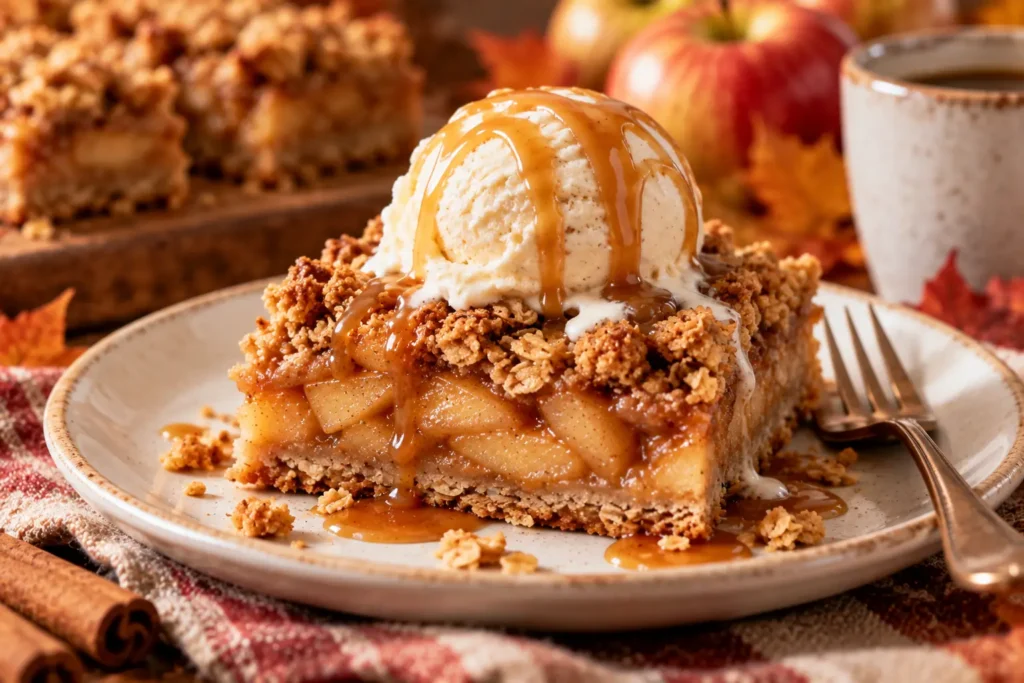
Luxury Version: Add a caramel drizzle on top and a scoop of vanilla bean ice cream on the side.
Serving Ideas
Cinnamon apple crisp bars fit into almost any occasion. Here are some of our favorite ways to serve them.
- Breakfast: Warmed slightly with a spoonful of Greek yogurt.
- Lunch: As a sweet addition to a packed lunchbox.
- Dinner: A comforting dessert after a fall dinner like roast chicken or pork.
- Dessert: Served warm with vanilla ice cream and a drizzle of caramel.
- Meal Prep: Portioned into individual containers for grab-and-go treats. Pair a few bars with a batch of Pumpkin Spice Energy Balls for a well-rounded fall snack box that covers both cravings and quick energy.
- Potluck: Cut into squares and arranged on a large tray.
- BBQ: A sweet finish to a summer or early-fall cookout.
- Picnic: Wrapped individually in parchment for easy transport.
- Baby Shower: Cut into small squares and served alongside other finger desserts.
- Bridal Shower: Plated with fresh mint for a polished presentation.
- Christmas: Add a touch of ground cloves for a holiday-spiced twist.
- Thanksgiving: A lighter, easier alternative to pie on a dessert table.
- Game Day: Cut into bar shapes for easy one-handed eating.
- Summer Parties: Swap in stone fruit like peaches for a summer version.
Storage
Cinnamon apple crisp bars store well, which makes them great for planning ahead.
Counter: These bars can sit covered at room temperature for up to 2 days.
Refrigerator: Store in an airtight container for up to 5 days; this is the best option for maintaining texture.
Freezer: Wrap individual bars tightly in plastic wrap, then place in a freezer-safe bag for up to 3 months.
Reheating: Warm individual bars in the microwave for 15–20 seconds, or in a 300°F oven for 10 minutes to re-crisp the topping.
Meal Prep: Bars hold up well when portioned ahead and stored in the fridge for the week.
Shelf Life: Best texture within the first 3 days; freezing is recommended for longer storage.
Troubleshooting
If your cinnamon apple crisp bars don’t turn out quite right the first time, these fixes should help.
My bars won’t hold together when sliced. This almost always comes down to either warm butter in the crust or slicing before the bars have fully cooled. Chill the pan before cutting if you’re still having trouble.
The topping turned out powdery instead of crumbly. The butter may have been cut in too finely or melted slightly. Keep butter cold and stop mixing as soon as pea-sized crumbles form.
The filling is too sweet for my taste. Reduce the granulated sugar in the filling by 2–3 tablespoons; the apples will still provide plenty of natural sweetness.
The bars taste bland. Check that your cinnamon isn’t old — ground spices lose potency after about a year. Fresh spices make a noticeable difference.
Frequently Asked Questions
Here are the questions readers ask most often about this cinnamon apple crisp bars recipe.
Can I use only one type of apple? Yes. A single firm, tart-leaning variety like Granny Smith works well on its own, though a mix adds more complexity.
Do I need to peel the apples? Peeling is recommended for the smoothest texture, though leaving the skin on is fine if you prefer more texture and don’t mind the visual difference.
Can I make these ahead of time? Yes, these bars actually taste great the next day once the flavors have had time to settle. Make them up to 2 days ahead and store covered at room temperature or in the fridge.
Can I double this recipe? Yes. Use a larger pan, such as a half sheet pan, and add a few extra minutes to the bake time.
Why did my crust shrink from the sides of the pan? This usually happens if the crust wasn’t pressed firmly enough into the corners before baking.
Can I use frozen apples? Fresh apples are strongly recommended, as frozen apples release excess liquid that can make the filling watery.
How do I know when the bars are fully baked? Look for deep golden streusel and gentle bubbling at the edges of the pan.
Can I add nuts to the streusel? Yes, chopped pecans or walnuts are a great addition, added in with the reserved streusel mixture.
Is this recipe very sweet? It’s moderately sweet, balanced by the tartness of the apples and a touch of lemon juice.
Can I use pears instead of apples? Yes, firm pears like Bosc work well as a substitute or partial swap.
What’s the best way to cut clean squares? Chill the fully cooled bars for 30 minutes, then use a sharp knife wiped clean between cuts.
Can this be made in a smaller pan? Yes, an 8×8 pan works, though the bars will be thicker and need a slightly longer bake time.
Do these bars need to be refrigerated? Not immediately, but refrigeration extends freshness beyond 2 days.
Can I add oats to the filling itself? It’s not necessary, since the oats in the crust and topping already provide plenty of texture contrast.
What can I serve with these bars? Vanilla ice cream, whipped cream, or a warm caramel drizzle all pair beautifully. If you’re setting up a full fall dessert spread, this Easy Pumpkin Cheesecake Dip Recipe is another quick, make-ahead option that rounds out the table nicely.
Recommended Tools
A few tools genuinely make this cinnamon apple crisp bars recipe easier and more consistent. These are things worth having in your kitchen if you bake often.
1. Glass or Metal 9×13 Baking Pan Best for: getting evenly baked bars with straight, clean edges. Why it helps: consistent heat distribution prevents overbaked edges and an under baked center. Key features: sturdy construction, straight sides, oven-safe to high temperatures. Buying considerations: glass holds heat longer after baking, while metal heats up faster; either works well here.
2. Adjustable Pastry Cutter Best for: quickly cutting cold butter into flour without warming it. Why it helps: keeps the streusel texture crumbly instead of pasty. Key features: multiple curved blades, comfortable handle. Buying considerations: look for one with a sturdy grip that won’t slip when pressing down.
3. Apple Peeler and Corer Combo Best for: speeding up prep when slicing a large batch of apples. Why it helps: creates thin, even slices that cook consistently. Key features: adjustable thickness settings, suction or clamp base. Buying considerations: a clamp-style base tends to be more stable than suction for repeated use.
4. Parchment Paper with Pan-Sized Pre-Cut Sheets Best for: easy release and clean lifting of the entire slab. Why it helps: eliminates sticking and makes slicing much neater. Key features: pre-cut to standard pan sizes, non-stick coating. Buying considerations: pre-cut sheets save time versus cutting your own from a roll.
5. Digital Oven Thermometer Best for: verifying your oven’s actual internal temperature. Why it helps: many home ovens run hot or cool by 15–25 degrees, which affects browning and bake time. Key features: easy-to-read display, heat-safe up to 500°F. Buying considerations: choose one that hangs or stands independently on the oven rack.
6. Stainless Steel Mixing Bowl Set Best for: having the right bowl size for both the crust mixture and apple filling. Why it helps: nesting bowls in a few sizes cover most baking tasks. Key features: durable, dishwasher safe, non-reactive with acidic ingredients like lemon juice. Buying considerations: look for a set with a non-slip base for easier mixing.
7. Bench Scraper Best for: pressing the crust evenly and later slicing clean bars. Why it helps: a flat edge presses more evenly than fingers alone and cuts straighter lines than a standard knife. Key features: wide flat blade, comfortable handle. Buying considerations: a slightly flexible blade is easier to use for pressing than a completely rigid one.
8. Wire Cooling Rack Best for: cooling the bars evenly without trapping steam underneath the pan. Why it helps: prevents a soggy bottom crust by allowing air circulation. Key features: sturdy metal grid, raised feet. Buying considerations: choose a rack sized to fit your baking pan for stability.
Recipe Card
Cinnamon Apple Crisp Bars
Servings: 16 bars Prep Time: 20 minutes Cook Time: 45 minutes Chill Time: 15 minutes Total Time: 1 hour 20 minutes
Ingredients
Crust and Streusel
- 2 ½ cups all-purpose flour
- 1 ½ cups old-fashioned rolled oats
- 1 cup light brown sugar, packed
- 1 teaspoon baking powder
- ½ teaspoon salt
- 1 cup unsalted butter, cold and cubed
Apple Filling
- 6 cups thinly sliced apples (about 5–6 medium apples, mix of Granny Smith and Honeycrisp)
- ⅓ cup granulated sugar
- 2 teaspoons ground cinnamon
- ¼ teaspoon ground nutmeg
- ¼ teaspoon ground ginger
- 1 tablespoon lemon juice
- 2 tablespoons cornstarch
- 1 teaspoon vanilla extract
Instructions
- Whisk together flour, oats, brown sugar, baking powder, and salt. Cut in cold butter until pea-sized crumbles form.
- Line a 9×13 pan with parchment paper. Press two-thirds of the crumb mixture firmly into the bottom. Reserve the rest.
- Chill the crust for 15 minutes while preparing the filling.
- Preheat oven to 350°F. Toss sliced apples with sugar, cinnamon, nutmeg, ginger, lemon juice, cornstarch, and vanilla.
- Spread apple filling evenly over the chilled crust. Sprinkle reserved crumb mixture on top.
- Bake for 40–45 minutes, until the topping is golden brown and the filling bubbles at the edges.
- Cool completely in the pan on a wire rack for at least 1 hour before slicing into 16 bars.
Notes
For the cleanest slices, chill the fully cooled pan for 30 minutes before cutting, and wipe your knife clean between cuts.
Nutrition (per bar)
Calories: 265 | Protein: 3g | Carbs: 38g | Fat: 12g
Scaling Options
To double this recipe, use a half sheet pan (13×18 inches) and increase the bake time by 5–10 minutes, checking for golden streusel and bubbling filling as your guide.