
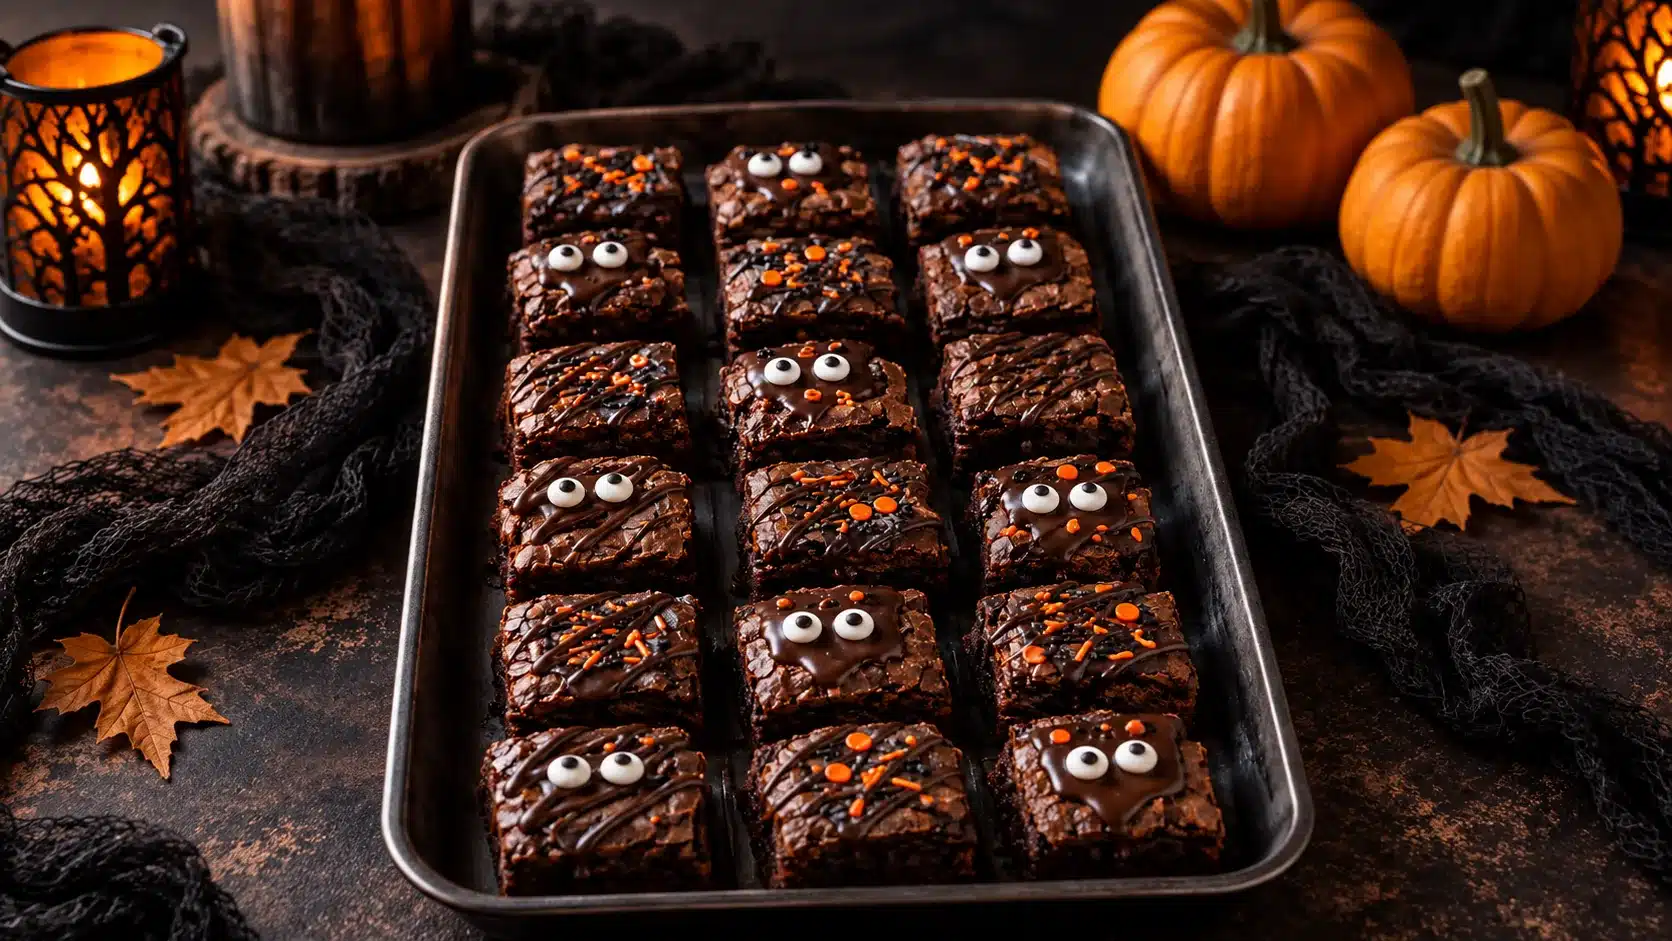
Halloween Brownie Bites
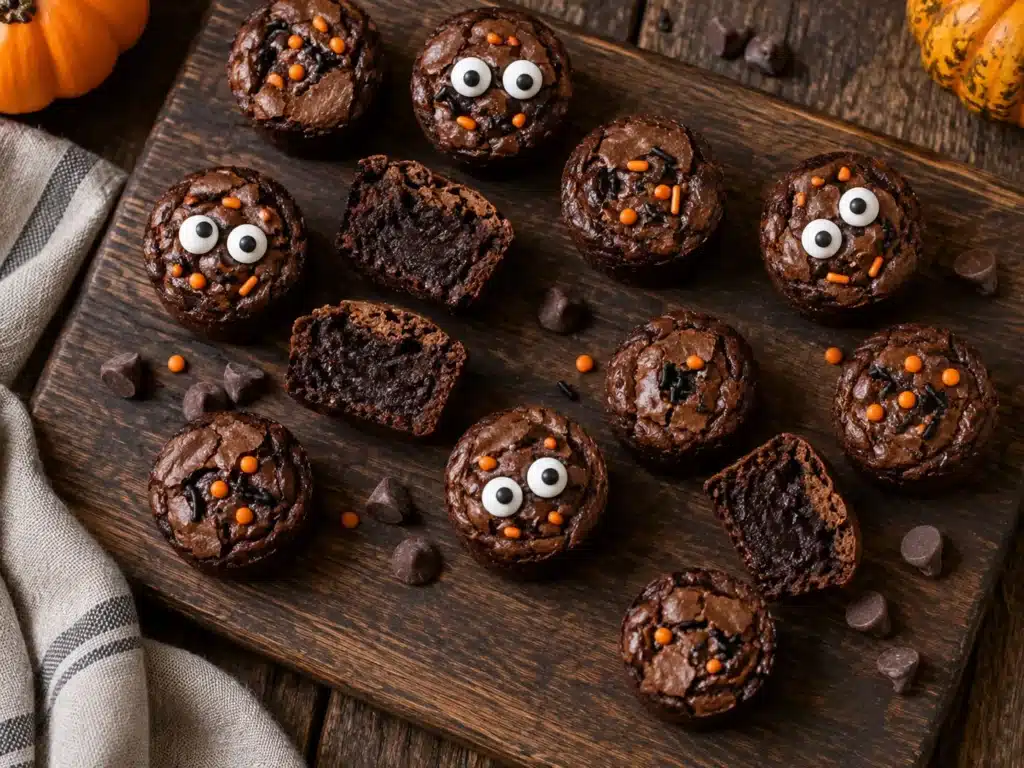
This post may contain affiliate links. If you purchase through them, we may earn a small commission at no extra cost to you. Thank you for supporting our site.
There’s a particular kind of chaos that happens in my kitchen every October, and it usually starts with a half-empty bag of candy corn, three different kinds of sprinkles I don’t remember buying, and a brownie pan that’s already warm before I’ve even preheated the oven. Halloween baking has a way of pulling you in like that.
Halloween Brownie Bites became a fixture in my house the year I got tired of full-sized brownie pans disappearing from the counter before I could even snap a photo. Cutting them into small, single-bite portions changed everything. They bake faster, they’re easier to decorate, and somehow a tray of tiny brownies feels more like a party than one big pan ever did. That’s really the whole appeal of Halloween Brownie Bites: all the fudgy, chocolatey comfort of a classic brownie, just sized for sharing.
If you’ve been searching for a Halloween dessert that’s rich, chocolatey, genuinely easy, and dressed up enough for a party table without requiring a culinary degree, this is the recipe. It uses one bowl, basic pantry ingredients, and a bake time under 20 minutes. If you love easy, no-fuss Halloween treats, these Halloween Brownie Bites pair perfectly with Halloween Oreo Truffles, another no-bake option that comes together just as fast. Keep scrolling and I’ll walk you through everything, from ingredient swaps to storage tricks to the mistakes that turn fudgy brownies into dry ones.
Quick Recipe Facts
| Detail | Information |
|---|---|
| Prep Time | 15 minutes |
| Cook Time | 18 minutes |
| Chill Time | 20 minutes |
| Total Time | 55 minutes |
| Servings | 24 brownie bites |
| Cuisine | American |
| Course | Dessert |
| Difficulty | Easy |
| Calories | 145 kcal per bite |
| Protein | 2g |
| Carbs | 19g |
| Fat | 7g |
Table of Contents
- Why You’ll Love This Recipe
- Ingredient Guide
- Equipment Guide
- Step-by-Step Instructions
- Expert Tips
- Common Mistakes
- Recipe Variations
- Serving Ideas
- Storage
- Troubleshooting
- Frequently Asked Questions
- Amazon Affiliate Picks
- Recipe Card
Jump to Recipe ↓ (scroll to the Recipe Card section for ingredients and instructions only)
Why You’ll Love This Recipe
These Halloween Brownie Bites sit right at the intersection of “easy weeknight baking” and “impressive party dessert,” which is a rare place for a recipe to live. Once you’ve made a batch of Halloween Brownie Bites, you’ll understand why they tend to disappear faster than any other treat on the dessert table.
Who it’s for: Busy parents packing Halloween classroom treats, hosts pulling together a last-minute dessert table, and anyone who wants a homemade option that doesn’t take all afternoon.
Flavor: Deep, fudgy chocolate with a slightly crackly top and a soft, dense center. There’s nothing cakey or dry about these.
Texture: Chewy at the edges, fudgy in the middle. Chilling the bites before serving firms them up just enough to hold their shape without losing that melt-in-your-mouth quality.
Nutrition: At 145 calories per bite, these are naturally portion-controlled, which makes them easier to fit into a party spread without going overboard.
Convenience: One bowl, no mixer required, and a bake time short enough to squeeze in between school pickup and dinner.
Meal prep advantages: The base brownies freeze beautifully, so you can bake now and decorate later, which is a lifesaver during the busiest baking week of the year.
Ingredient Guide
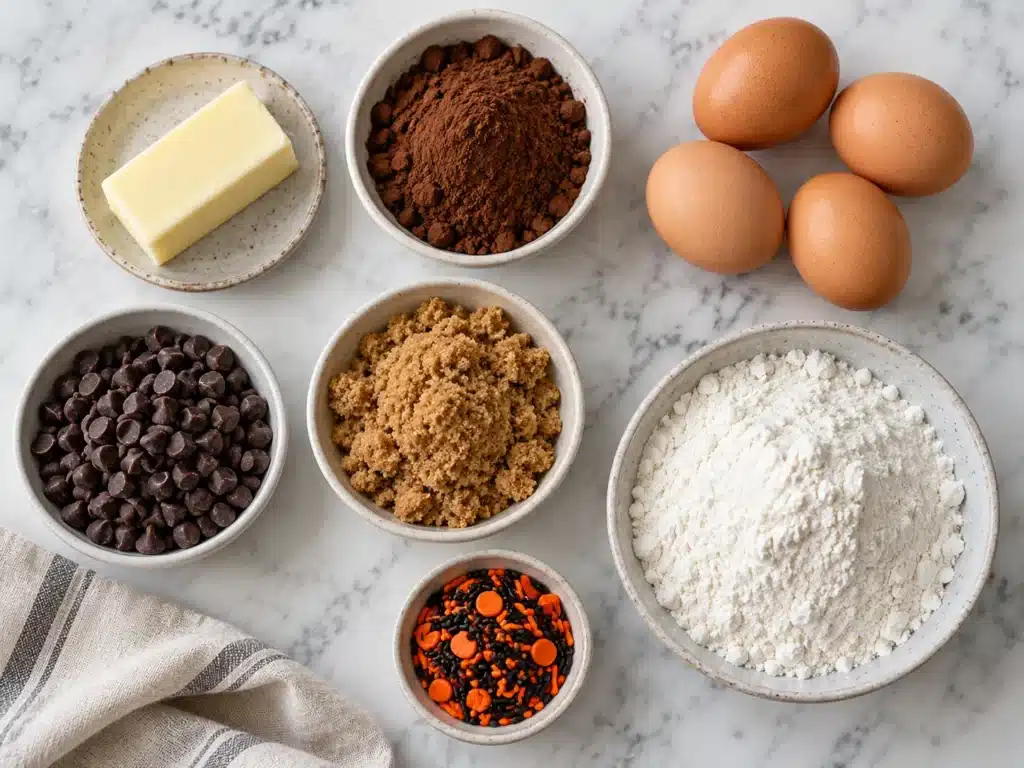
Every ingredient below earns its place in this Halloween Brownie Bites recipe, and understanding what each one does will help you troubleshoot and customize with confidence.
| Ingredient | Purpose | Flavor Notes | Substitution | Shopping Tip | Storage Tip |
|---|---|---|---|---|---|
| Unsalted butter | Adds richness and moisture | Creamy, rounds out chocolate flavor | Melted coconut oil | Buy in bulk during fall baking sales | Keep refrigerated, freeze extra sticks |
| Granulated sugar | Sweetness and crackly top | Clean sweetness | Coconut sugar (slightly less crisp top) | Store in airtight container | Room temperature, stays fresh for months |
| Brown sugar | Adds moisture and chew | Deeper, caramel-like | Extra granulated sugar in a pinch | Check for hard clumping before buying | Keep sealed to prevent hardening |
| Eggs | Structure and richness | Neutral, but essential for fudginess | Flax eggs for egg-free version | Choose room-temperature eggs for better mixing | Refrigerate, use within 3–5 weeks |
| Vanilla extract | Rounds out chocolate flavor | Warm, aromatic | Almond extract for a twist | Pure extract over imitation when possible | Store in a cool, dark cabinet |
| Cocoa powder | Primary chocolate flavor | Deep, slightly bitter | Dutch-process for smoother flavor | Look for natural unsweetened cocoa | Airtight container, away from light |
| All-purpose flour | Structure | Neutral | 1:1 gluten-free blend | Standard baking flour works fine | Airtight container or freezer for long-term |
| Salt | Balances sweetness | Sharpens chocolate flavor | Kosher salt preferred | Any fine table salt works | Indefinite shelf life |
| Chocolate chips | Melty pockets throughout | Bursts of gooey chocolate | Chopped chocolate bar | Semi-sweet works best | Cool, dry pantry |
| Halloween sprinkles/candy eyes | Decoration | Adds crunch and visual appeal | Any Halloween-themed topping | Seasonal aisle in most grocery stores | Airtight container, stays fresh for months |
Equipment Guide
You don’t need a fully stocked bakery to pull off these Halloween Brownie Bites, but a few key tools make the process noticeably smoother.
| Tool | Why It Matters | Budget Alternative | Upgrade Option |
|---|---|---|---|
| Mini muffin pan | Creates uniform bite-sized portions | Standard muffin pan cut into quarters | Non-stick silicone mini muffin pan |
| Mixing bowl | Combines batter evenly | Any large heatproof bowl | Glass bowl with pour spout |
| Whisk | Incorporates air and mixes wet ingredients | Fork works in a pinch | Balloon whisk for faster mixing |
| Rubber spatula | Folds in dry ingredients without overmixing | Wooden spoon | Silicone spatula with high heat resistance |
| Cooling rack | Prevents soggy bottoms | Clean kitchen towel folded flat | Stackable cooling racks for batch baking |
| Small offset spatula | Helps release bites cleanly | Butter knife | Mini offset spatula set |
Step-by-Step Instructions
Step 1: Preheat and Prep Your Pan
Preheat your oven to 350°F (175°C). Grease a mini muffin pan generously, even if it’s labeled non-stick. Brownie batter is dense and sticky, and a lightly greased pan is the difference between clean release and frustration.
Common mistake: Skipping the grease because the pan “looks non-stick.” Always grease anyway. Expert tip: A light dusting of cocoa powder over the greased pan prevents white flour streaks on your finished brownies. Visual cue: The pan should look lightly shiny, not pooling with butter.
Step 2: Melt the Butter
Melt the butter in a large microwave-safe bowl in 30-second bursts, stirring between each. You want it fully melted but not bubbling hot.
Why: Melted butter (versus creamed) is what gives brownies their dense, fudgy texture instead of a cakey one. Timing: Usually takes 60–90 seconds total. Texture cue: Smooth and pourable, with no solid chunks remaining.
Step 3: Whisk in the Sugars
Add the granulated sugar and brown sugar directly into the warm butter. Whisk vigorously for about a minute.
Why: This step is what creates that classic shiny, crackly brownie top. What to look for: The mixture should look slightly glossy and grainy, almost like wet sand.
Step 4: Add Eggs and Vanilla
Whisk in the eggs one at a time, followed by the vanilla extract. Whisk until the mixture is smooth, pale, and slightly thickened.
Common mistake: Adding eggs to butter that’s still too hot, which scrambles them. Let the butter cool for a minute or two first. Visual cue: The batter should lighten in color and look glossy.
Step 5: Fold in Cocoa Powder, Flour, and Salt
Sift the cocoa powder, flour, and salt directly over the wet ingredients. Fold gently with a spatula until just combined.
Why: Overmixing develops gluten, which makes brownies tough instead of fudgy. Expert tip: Stop folding the moment you no longer see streaks of dry flour. A few small lumps are fine.
Step 6: Fold in Chocolate Chips
Gently fold in the chocolate chips, reserving a small handful to press on top of each bite before baking.
Texture cue: The batter should be thick, glossy, and scoopable, not pourable like cake batter.
Step 7: Fill the Muffin Cups
Using a small cookie scoop, fill each mini muffin cup about two-thirds full. Press a few reserved chocolate chips on top.
Common mistake: Overfilling the cups, which causes overflow and uneven baking. Visual cue: Batter should sit just below the rim of each cup.
Step 8: Bake
Bake for 16–18 minutes, until the tops look set and a toothpick inserted comes out with a few moist crumbs, not wet batter.
Why this timing matters: Mini brownies bake faster than a full pan, so start checking at the 15-minute mark to avoid overbaking. Texture cue: Tops should look matte and slightly cracked, centers should feel just barely firm to a light touch.
Step 9: Cool and Chill
Let the brownie bites cool in the pan for 10 minutes, then transfer to a cooling rack. Chill in the refrigerator for 20 minutes before decorating.
Why: Chilling firms up the fudgy centers, making them easier to top and handle without falling apart.
Step 10: Decorate
Once chilled, top each bite with melted chocolate drizzle, candy eyes, orange and black sprinkles, or crushed Halloween candy.
Expert tip: Use a piping bag or a zip-top bag with the corner snipped for clean, controlled drizzle lines.
Expert Tips
These are the small details that consistently make or break a batch of Halloween Brownie Bites, gathered from repeated rounds of testing.
- Weigh your flour if you have a kitchen scale. Even a slightly heavy-handed flour measurement can turn fudgy brownies cakey.
- Let your eggs come to room temperature before starting. Cold eggs can cause the melted butter to seize slightly.
- For extra-glossy tops, whisk the sugar and butter mixture longer than feels necessary, closer to a full 90 seconds.
- Underbake by about a minute if you like an especially fudgy, almost molten center. The bites will continue to set as they cool.
- For photography or party presentation, dust the tray lightly with cocoa powder or powdered sugar right before serving for contrast against dark chocolate.
Common Mistakes
Most Halloween Brownie Bites go wrong for one of a handful of predictable reasons, and every one of them is easy to fix once you know what to look for.
| Mistake | Cause | Solution |
|---|---|---|
| Dry, cakey texture | Overbaking or too much flour | Pull bites at 16 minutes and check with a toothpick early |
| Sunken centers | Underbaking or oven door opened too early | Bake the full time and avoid opening the oven before minute 14 |
| Sticking to the pan | Pan wasn’t greased thoroughly | Grease generously, including the very top edges of each cup |
| Bland flavor | Old cocoa powder or skipped salt | Use fresh cocoa powder and don’t skip the salt |
| Toppings sliding off | Decorating brownies while still warm | Chill for a full 20 minutes before adding toppings |
Recipe Variations
Healthy: Swap half the butter for unsweetened applesauce to reduce fat content, or serve alongside Pumpkin Spice Energy Balls if you want a lighter option on the same dessert table.
High Protein: Stir a scoop of unflavored or chocolate protein powder into the dry ingredients, adding a tablespoon of milk if the batter feels too thick.
Low Sugar: Reduce granulated sugar by a third and use a monk fruit blend for the rest.
Keto: Replace flour with almond flour and sugars with a keto-friendly sweetener blend.
Gluten Free: Use a 1:1 gluten-free all-purpose flour blend; texture stays nearly identical.
Dairy Free: Substitute melted coconut oil for butter and use dairy-free chocolate chips.
Seasonal: Add a pinch of cinnamon or a swirl of pumpkin puree for a fall twist, and set them alongside Cinnamon Apple Crisp Bars for a well-rounded fall dessert table.
Holiday: Swap orange and black sprinkles for red and green for Christmas, or pastel tones for Easter.
Kid Friendly: Let kids choose their own candy toppings and candy eyes for a hands-on decorating activity.
Party Version: Add mini brownie “spiderwebs” using melted white chocolate drizzled and dragged with a toothpick.
Budget Version: Use store-brand cocoa powder and skip specialty toppings in favor of basic sprinkles.
Luxury Version: Use high-quality dark chocolate, a touch of espresso powder to deepen flavor, and finish with flaky sea salt.
Serving Ideas
Halloween Brownie Bites work well beyond just dessert, which is part of why they’ve become such a regular fixture in my fall baking rotation:
- Breakfast: Pair one or two bites with fruit for a special occasion treat.
- Lunch: Add to a lunchbox as a sweet finish to a school meal.
- Dinner: Serve warm with a small scoop of vanilla ice cream.
- Dessert: The obvious, and best, use case.
- Meal Prep: Bake a double batch and freeze for grab-and-go treats all season.
- Potluck: Arrange on a tiered tray for an easy, no-slice dessert option, and bring along Easy Pumpkin Cheesecake Dip if you want a second no-fuss dessert to share.
- BBQ: A great make-ahead dessert that doesn’t require last-minute prep.
- Picnic: Portable, mess-free, and easy to pack.
- Baby Shower: Decorate with pastel sprinkles instead of Halloween colors.
- Bridal Shower: Top with white chocolate drizzle for an elegant look.
- Christmas: Swap the topping colors for a festive version.
- Thanksgiving: A simple addition to a dessert table alongside pie.
- Game Day: Easy to eat one-handed while watching the game.
- Summer Parties: Freeze slightly for a fudgier, firmer bite in warm weather.
Storage
Proper storage is what keeps Halloween Brownie Bites tasting fresh from the first bite to the last.
| Method | Instructions | Shelf Life |
|---|---|---|
| Counter | Store in an airtight container, away from direct sunlight | 2 days |
| Refrigerator | Store in a sealed container | Up to 1 week |
| Freezer | Freeze undecorated bites in a single layer, then transfer to a freezer bag | Up to 3 months |
| Reheating | Microwave for 10–15 seconds for a warm, gooey bite | N/A |
| Meal Prep | Bake and freeze undecorated, then thaw and decorate before serving | Up to 3 months |
Troubleshooting
Even a simple recipe like Halloween Brownie Bites can go sideways occasionally. Here’s how to fix the most common issues.
My brownie bites are too dry. This usually means they were overbaked, or too much flour was used. Try pulling them a minute or two earlier next time and spoon-and-level your flour rather than scooping directly from the bag.
My brownie bites sank in the middle. This typically happens from underbaking or opening the oven door too early, which causes a temperature drop. Bake the full time and resist peeking before the 14-minute mark.
My toppings won’t stick. Toppings need a slightly tacky surface to adhere. If your brownies have fully cooled and hardened, a thin layer of melted chocolate brushed on top will help sprinkles and candy eyes stay put.
My brownies stuck to the pan. This is almost always a greasing issue. Use a generous, even layer of butter or non-stick spray, reaching all the way up the sides of each cup.
Frequently Asked Questions
Here are the most common questions readers ask about making Halloween Brownie Bites at home.
What are Halloween Brownie Bites? Halloween Brownie Bites are mini, single-serving fudgy brownies baked in a muffin pan and decorated with Halloween-themed toppings like candy eyes, orange sprinkles, or chocolate drizzle.
Why are my brownie bites cakey instead of fudgy? Cakey brownies usually result from overmixing the batter or using too much flour. Fold ingredients gently and measure flour carefully.
How do I make brownie bites ahead of time? Bake the undecorated brownie bites up to three days ahead and store them in the refrigerator, then decorate right before serving.
Can I freeze brownie bites? Yes. Undecorated brownie bites freeze well for up to three months in a sealed freezer bag.
What toppings work best for Halloween Brownie Bites? Candy eyes, orange and black sprinkles, chocolate drizzle, and crushed Halloween candy all work well and hold up to chilling.
Can I make these gluten free? Yes, a 1:1 gluten-free flour blend works nearly identically to regular flour in this recipe.
How long do brownie bites last? They last about 2 days on the counter, up to a week in the refrigerator, and up to 3 months in the freezer.
Do I need a mini muffin pan for this recipe? A mini muffin pan gives the most uniform bite-sized results, but a regular muffin pan filled a third of the way also works.
Why do you chill the brownies before decorating? Chilling firms up the fudgy texture, making the bites easier to handle and helping toppings stay in place.
Can kids help make this recipe? Yes, this is a great recipe for kids to help with, especially the decorating step.
What’s the best chocolate to use? Semi-sweet chocolate chips offer the most balanced sweetness, though dark chocolate works well for a richer, more grown-up flavor.
Can I double this recipe? Yes, this recipe doubles easily. Just be sure to bake in batches if your muffin pan quantity is limited.
Are these brownie bites nut-free? Yes, as written, this recipe contains no nuts, though always check your specific chocolate chip brand for cross-contamination warnings if allergies are a concern.
Can I use a boxed brownie mix instead? Yes, though the texture and flavor will differ slightly. This from-scratch version offers more control over fudginess and sweetness.
What’s the difference between brownie bites and regular brownies? Brownie bites are simply smaller, individually portioned brownies baked in a muffin pan, which bake faster and are easier to serve at parties.
Kitchen Tools We Recommend
These are the tools I personally reach for when I make Halloween Brownie Bites, each one chosen for genuinely improving the process rather than just adding clutter to your kitchen.
Mini Muffin Pan Best for: Achieving uniform, bite-sized brownies. Why it helps: Ensures even baking and consistent portion sizes. Key features: Non-stick coating, 24-cup capacity. Buying considerations: Look for a heavier gauge pan to prevent warping. Natural recommendation: If you bake mini treats often, this pan earns its cabinet space quickly.
Silicone Baking Cups Best for: Easy release without extra greasing. Why it helps: Reduces sticking and simplifies cleanup. Key features: Reusable, heat-resistant up to 480°F. Buying considerations: Choose food-grade silicone. Natural recommendation: A small upgrade that saves real time during holiday baking marathons.
Small Offset Spatula Best for: Cleanly lifting brownie bites from the pan. Key features: Angled blade, comfortable grip. Buying considerations: A 4-inch blade is ideal for mini muffin pans. Natural recommendation: Prevents the frustration of broken edges on delicate fudgy bites.
Squeeze Bottles for Chocolate Drizzle Best for: Controlled, clean drizzle lines. Key features: Narrow tip, BPA-free plastic. Buying considerations: Wide-mouth versions are easier to fill and clean. Natural recommendation: Makes decorating feel far more professional with almost no learning curve.
Kitchen Scale Best for: Precise flour and cocoa measurements. Key features: Digital display, gram and ounce settings. Buying considerations: Look for a scale that can be tared easily. Natural recommendation: One of the simplest ways to consistently avoid dry, overbaked brownies.
Cooling Rack Best for: Even cooling without soggy bottoms. Key features: Stainless steel, stackable design. Buying considerations: Choose a rack with tight wire spacing for mini treats. Natural recommendation: An inexpensive tool that noticeably improves texture.
Halloween Candy Eyes and Sprinkles Set Best for: Quick, festive decorating. Key features: Variety pack with multiple shapes and colors. Buying considerations: Check for allergen information if serving at a school event. Natural recommendation: Takes decorating from “homemade” to “party centerpiece” in seconds.
Airtight Storage Containers Best for: Keeping brownie bites fresh longer. Key features: Stackable, freezer-safe. Buying considerations: Choose a size that fits your fridge or freezer shelf. Natural recommendation: Extends freshness and makes meal-prepped batches easy to grab.
Recipe Card
Halloween Brownie Bites
Rich, fudgy mini brownies decorated for Halloween. One bowl, no mixer, ready in under an hour.
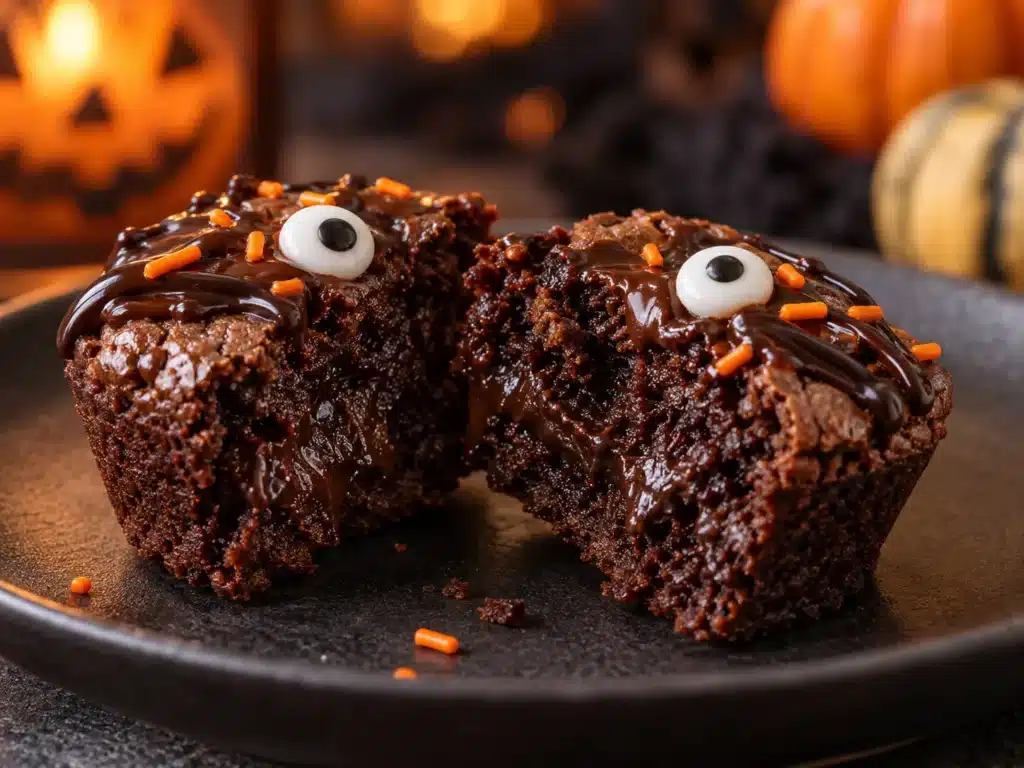
Servings: 24 brownie bites (scalable to 12 or 48)
Ingredients
- 1/2 cup unsalted butter, melted
- 3/4 cup granulated sugar
- 1/4 cup brown sugar, packed
- 2 large eggs, room temperature
- 1 teaspoon vanilla extract
- 1/3 cup unsweetened cocoa powder
- 1/2 cup all-purpose flour
- 1/4 teaspoon salt
- 3/4 cup semi-sweet chocolate chips, divided
- Halloween sprinkles and candy eyes, for decorating
Instructions
- Preheat oven to 350°F (175°C) and grease a mini muffin pan generously.
- Melt butter in a large bowl, then whisk in granulated sugar and brown sugar.
- Whisk in eggs one at a time, followed by vanilla extract.
- Sift in cocoa powder, flour, and salt, folding gently until just combined.
- Fold in half the chocolate chips, reserving the rest for topping.
- Scoop batter into muffin cups, filling two-thirds full. Top with remaining chocolate chips.
- Bake for 16–18 minutes, until a toothpick comes out with a few moist crumbs.
- Cool in the pan for 10 minutes, then transfer to a rack and chill for 20 minutes.
- Decorate with melted chocolate drizzle, sprinkles, and candy eyes before serving.
Notes
- For extra fudgy centers, pull the bites at the 16-minute mark.
- Store undecorated bites in the freezer for up to 3 months.
- Recipe easily doubles for larger gatherings.
Nutrition (per bite)
| Nutrient | Amount |
|---|---|
| Calories | 145 kcal |
| Protein | 2g |
| Carbohydrates | 19g |
| Fat | 7g |
Scaling Options
- Half batch: 12 bites, use a standard 12-cup mini muffin pan
- Double batch: 48 bites, bake in two batches or two pans simultaneously